


Rear window repair can be a DIY project, but assessing damage is crucial. Gather essential tools and materials for a clean workspace. Meticulously prepare, remove, clean, and install the new window for successful DIY repairs. Test functionality, save costs, and protect with regular care post-repair to avoid future issues.
“Discover the art of DIY rear window repair with our comprehensive guide. Learn to assess damage, gather essential tools, and follow a step-by-step process for successful repairs. From identifying cracks and chips to selecting the right materials, we’ll equip you with the knowledge to tackle this task confidently.
This article also offers valuable tips for achieving long-lasting results and preventing future damage, ensuring your vehicle’s rear window remains intact and secure. Master these key elements, and you’ll be well-prepared for any minor rear window repairs.”
- Assessing the Damage and Gathering Materials
- Step-by-Step Repair Process
- Tips for Long-Lasting Results and Future Prevention
Assessing the Damage and Gathering Materials

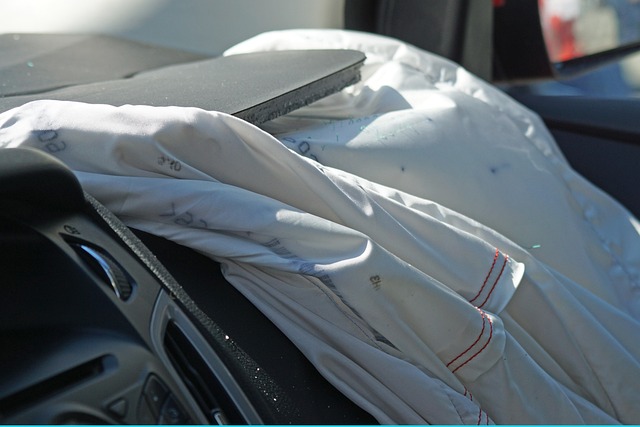
Before diving into any rear window repair, it’s crucial to assess the extent of the damage. Inspect your car’s rear window for cracks, chips, or any signs of breakage. Check if the damage is superficial or affects structural integrity. This step will determine the scope of your DIY project and necessary materials. If the damage is minimal, a simple replacement might be feasible with the right tools and auto frame repair techniques. However, severe cases may require professional car bodywork services to ensure safe and effective repairs.
Gathering the right materials is another key aspect. For rear window repairs, you’ll need specific tools tailored for auto bodywork, such as gloves, safety goggles, a putty knife, and automotive-grade adhesive or sealants. Additionally, prepare a clean, well-lit workspace to enhance precision during the repair process. Remember, proper preparation ensures successful DIY rear window repair, ultimately saving time and costs.
Step-by-Step Repair Process
The rear window repair process is a DIY-friendly project that can save you time and money. It involves several key steps to ensure a successful and lasting fix. First, prepare your workspace by gathering all necessary tools and materials, including replacement glass, sealant, and a putty knife. Remove the damaged or cracked rear window carefully, taking note of how it was installed. This knowledge will be crucial for the next stage.
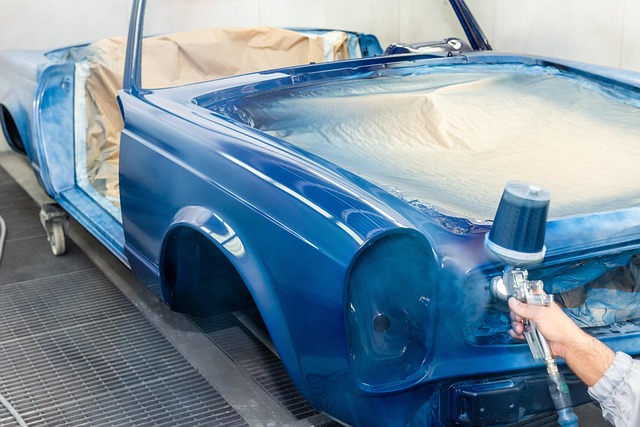
Next, clean the window frame thoroughly to ensure proper adhesion. Apply the sealant around the edges of the new rear window, then insert it into place, following your notes on installation methods. Use the putty knife to smooth out any excess sealant and ensure a tight seal. Once set, test the window’s functionality, ensuring it opens and closes smoothly without any signs of leaks or gaps. This meticulous approach guarantees not only an effective repair but also highlights the importance of high-quality collision repair services for long-term protection.
Tips for Long-Lasting Results and Future Prevention

Achieving long-lasting results with rear window repair goes beyond the initial fix. After successfully repairing your car’s rear window, ensure regular washing and cleaning to maintain clarity and prevent future damage. Consider using water-repellent coatings or films that offer UV protection, which can safeguard against scratches and cracks caused by environmental factors, like hail or debris. These measures significantly extend the lifespan of your repair work.
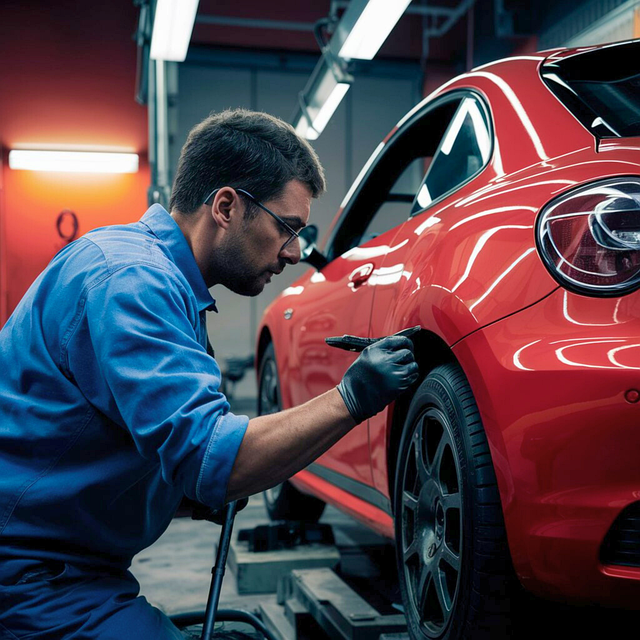
Additionally, practicing preventive maintenance is key. Regularly inspect your car for any signs of damage, focusing on the rear window area. Addressing small issues early through simple procedures like car dent repair can avert more intricate and costly fixes in the future. Incorporating these tips into your vehicle care routine ensures that your rear window remains in optimal condition, enhancing both its aesthetic appeal and safety functionality.
When it comes to DIY rear window repair, understanding the key elements outlined in this article equips you with the knowledge to assess damage, gather necessary materials, and follow a step-by-step process for successful restoration. By implementing long-lasting tips for future prevention, you not only save on costs but also ensure your vehicle’s safety and security. Now, armed with these DIY skills, tackling rear window repair is more manageable than ever before.