


Rear window repair utilizes heat to soften and reshape damaged glass, avoiding full replacement. Specialized heat tools like heat guns offer precise control for successful fixes. Technicians control temperature and application method for seamless results. Safety measures and the right heat source are key, with options from blow dryers to heat guns. Efficient heat application speeds up repairs and ensures long-lasting results.
Applying heat is a crucial step in repairing cracked or damaged rear windows. This process softens the glass, allowing for easy removal of shatters and installation of replacements. In this article, we’ll guide you through understanding heat application, choosing the right tools, and following safety precautions. Learn how to efficiently apply heat for optimal results in your rear window repair. From identifying the best heat sources to mastering a step-by-step process, this comprehensive tutorial ensures successful DIY repairs.
- Understanding Heat Application in Rear Window Repair
- Choosing the Right Heat Source and Safety Precautions
- Step-by-Step Guide to Efficient Heat Application for Optimal Results
Understanding Heat Application in Rear Window Repair

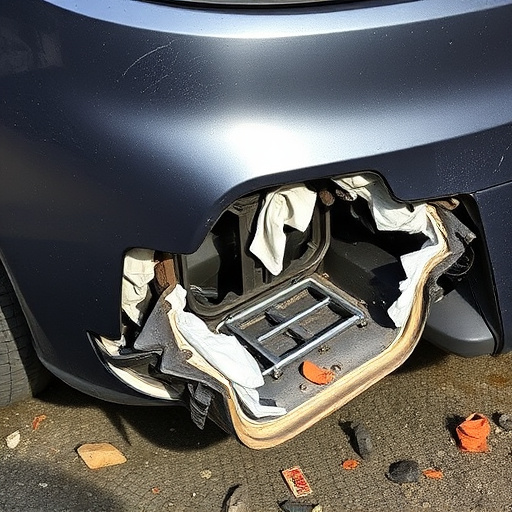
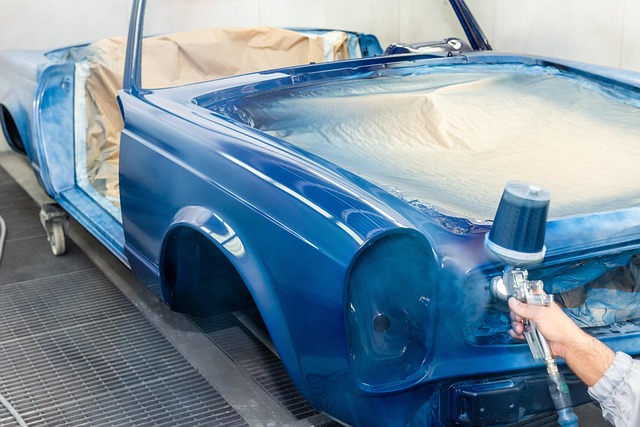
Applying heat is a crucial step in the rear window repair process, as it helps to soften and reshape the damaged glass. This technique, often used in car restoration and auto maintenance, allows for precise manipulation of the glass, making it possible to fix cracks or chips without having to replace the entire window. In a collision center, skilled technicians use specialized heat tools to apply controlled warmth to the affected area, carefully restoring the rear window to its original form.
Understanding how and when to apply heat is key to successful rear window repair. The right temperature and application method ensure that only the damaged portion is affected, preserving the integrity of the rest of the glass. This meticulous process requires skill and experience, ensuring a seamless and secure fix, leaving your vehicle’s window functioning optimally once again.
Choosing the Right Heat Source and Safety Precautions
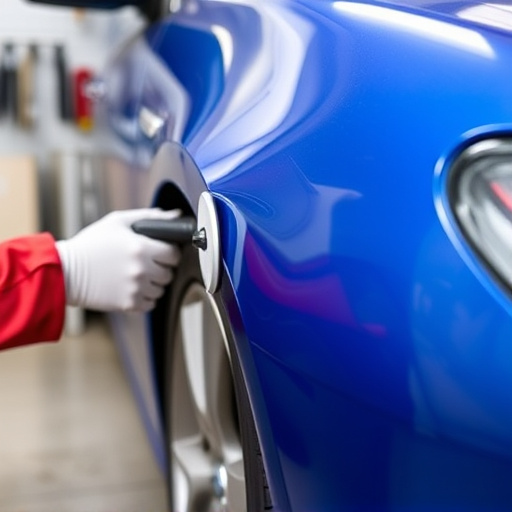
When it comes to rear window repair, selecting the appropriate heat source is a critical step. The key is to choose a method that provides precise and controlled heat application, as this ensures the best chance of successful repair without causing further damage. A common and effective option is a heat gun, which offers variable temperature control and can be easily maneuvered around curved glass surfaces. Alternatively, for more delicate repairs or smaller areas, a handheld heat gun or even a simple blow dryer can be adequate.
Safety should always be the top priority during any car body repair or restoration process, including rear window repair. Wear protective gear such as insulated gloves and safety glasses to shield yourself from direct contact with hot surfaces. Ensure proper ventilation in the work area, especially when using heat tools, to prevent the buildup of harmful fumes. Additionally, be mindful of nearby flammable materials to minimize the risk of accidents, making paintless dent repair techniques even more appealing for their non-invasive nature and minimal risk profile.
Step-by-Step Guide to Efficient Heat Application for Optimal Results
Applying heat is a critical step in the rear window repair process, ensuring a seamless and strong bond. Here’s a step-by-step guide for efficient heat application to achieve optimal results in your vehicle bodywork repairs. Begin by preparing the surface, clearing away any debris or moisture that could hinder the heating process. Next, use a specialized heat gun set to a temperature suitable for the type of adhesive being used—typically between 350-450°F (175-230°C). Hold the heat gun at a safe distance, allowing the heat to penetrate the damaged area and warm the surfaces evenly. This step is crucial as it softens the materials without causing excessive damage or warping.
As you apply heat, move the heat gun in a steady, circular motion, ensuring even distribution. For more complex repairs, use a putty knife to smooth out any excess adhesive or air bubbles that may form. Once the rear window is properly heated and the adhesive has reached its optimal bonding temperature, carefully align and press the replacement glass into place. Consistent pressure throughout the installation ensures a secure fit. In a collision repair shop, efficient heat application not only speeds up the repair process but also guarantees long-lasting results for your vehicle dent repair.
Applying heat is a crucial step in the rear window repair process, allowing for efficient removal and replacement. By understanding the science behind it and choosing the appropriate heat source, you can ensure a smooth and successful repair. Follow the safety precautions outlined and master the technique through the provided step-by-step guide to achieve optimal results in no time.