


Thoroughly assess and prepare for rear window repair. Use proper tools, materials, and techniques for DIY or professional repairs. Ensure quality replacements and careful sealing for long-lasting results. Regularly inspect sealants to maintain car safety and structural integrity.
Rear window repair can be a delicate process, prone to mistakes that may compromise safety and vehicle performance. To avoid common pitfalls, start by thoroughly assessing damage and preparing your workspace. Use high-quality tools tailored for the job. When replacing parts, proceed with care, ensuring proper alignment and secure fitting. Finally, focus on meticulous sealing for long-lasting results. Following these steps will guide you towards successful rear window repair, enhancing both functionality and aesthetics.
- Assess Damage and Prepare Before Repair
- Choose Right Tools and Replace With Care
- Ensure Proper Sealing for Longevity
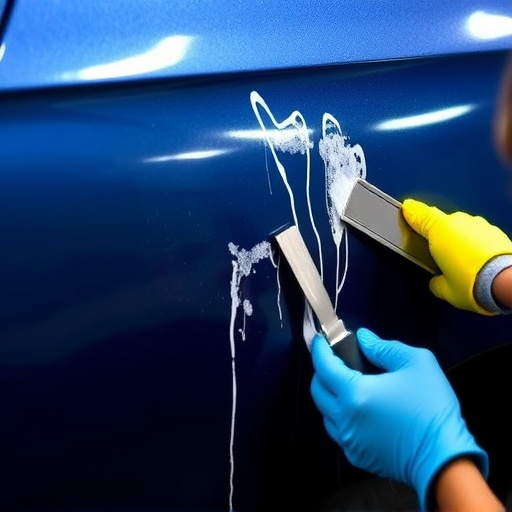
Assess Damage and Prepare Before Repair

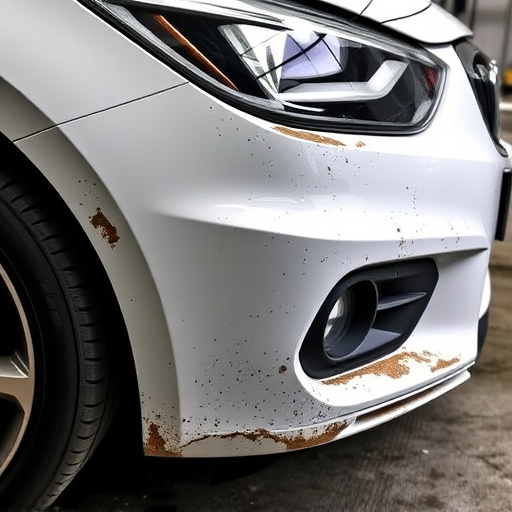
Before diving into any rear window repair, it’s crucial to meticulously assess the damage and prepare accordingly. This initial step is often overlooked but serves as a foundation for successful repairs. Start by examining the extent of the damage on your car’s rear window. Is there a crack, chip, or a more severe break? If it’s a small crack, you might consider repairing it yourself using a kit available at most automotive stores. However, for larger damages or if you’re unsure about the severity, consult a professional. They can accurately determine if the glass needs to be replaced entirely or if car dent removal techniques can fix it.
During preparation, gather all necessary tools and materials specific to rear window repair. Ensure your workspace is clean and well-lit. Remove any debris or loose pieces from around the damaged area. Protect nearby surfaces with drop cloths to prevent staining or damage during the repair process. Remember, proper preparation not only ensures a cleaner work environment but also contributes to the overall success of the repair, whether it’s a simple car dent removal or a more complex vehicle repair task.
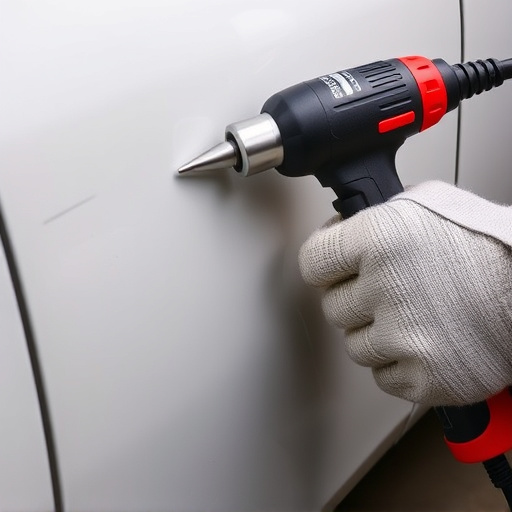
Choose Right Tools and Replace With Care

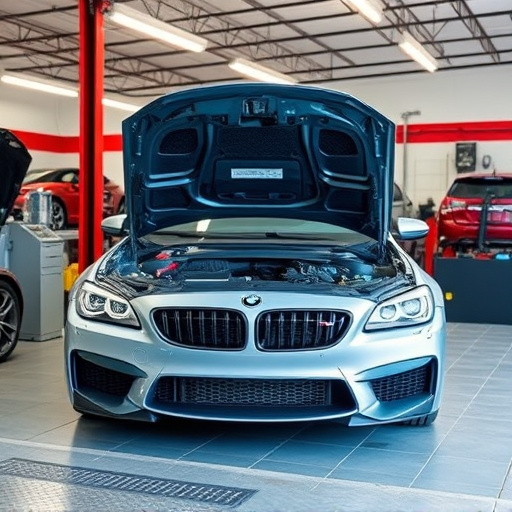
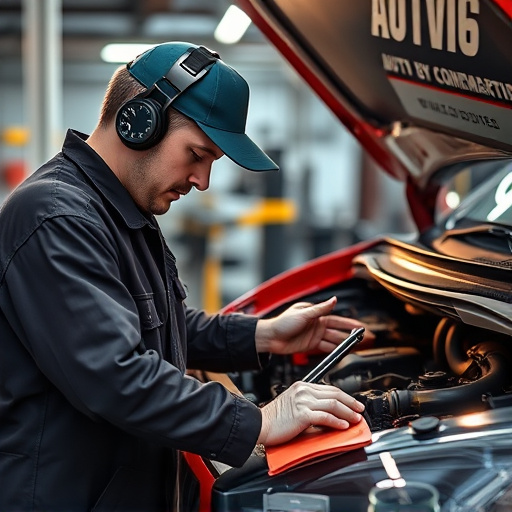
When tackling rear window repair, the right tools make all the difference. Invest in high-quality replacements that are specifically designed for your vehicle model. Using inferior or incorrectly sized parts can lead to leaks and poor sealing, complicating future repairs. Remember, even a seemingly minor mistake during installation could result in further damage, especially if there was a previous fender bender.
During the replacement process, handle auto glass with extreme care. They are delicate and easily damaged. Ensure your workspace is clean and well-lit to prevent accidental breakage. Wear protective gear, including gloves and safety glasses, as a precautionary measure. This meticulous approach ensures not just effective rear window repair but also contributes to the overall vehicle restoration, ensuring both functionality and aesthetics are maintained.
Ensure Proper Sealing for Longevity

When conducting rear window repair, one of the most critical aspects for longevity is ensuring proper sealing. This involves using high-quality sealants and adhering to the manufacturer’s guidelines during installation. A common mistake is rushing the process or using inferior materials, which can lead to water intrusion, reduced structural integrity, and even safety hazards over time.
Proper sealing creates a waterproof barrier, preventing moisture from damaging the window frame and car body. It also helps maintain optimal temperature control inside your vehicle, enhancing comfort during different weather conditions. Regular inspections and maintenance are crucial to catch any sealant damage early on, allowing for swift car collision repair if needed and ensuring your auto body services are up to par.
When conducting a rear window repair, meticulous preparation, the utilization of suitable tools, and careful replacement are paramount. After ensuring your workspace is ready and gathering the right equipment, assess the damage thoroughly. Replace any broken components with care, paying close attention to sealing techniques for long-lasting results. By following these simple steps and prioritizing precision, you can successfully navigate the rear window repair process, enhancing both safety and aesthetics.