
Before repairing a rear window, assess damage and gather tools: replacement glass, sealant, sandpaper, cleaning solutions, and protective gear. For minor issues, use DIY kits; for severe damages, replace the entire window assembly. Properly align the new window and seal around the frame to prevent leaks and maintain vehicle integrity. Test the repair by rolling down the window and checking for water accumulation or misting.
“Discovering a crack or damage in your vehicle’s rear window can be a stressful experience, but DIY repairs are achievable with the right guidance. This comprehensive guide breaks down the key elements of rear window repair, from assessing damage and gathering essential tools to removing and replacing parts effectively. Learn how to seal and test for leaks, ensuring a secure and leak-free fix. With these step-by-step instructions, you’ll be equipped to tackle common rear window repairs, saving time and money.”
- Assessing Damage and Gathering Materials
- Removing and Replacing Damaged Parts
- Sealing and Testing for Leaks
Assessing Damage and Gathering Materials
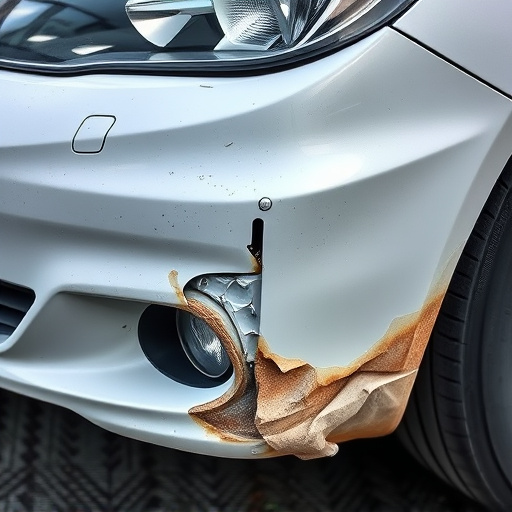
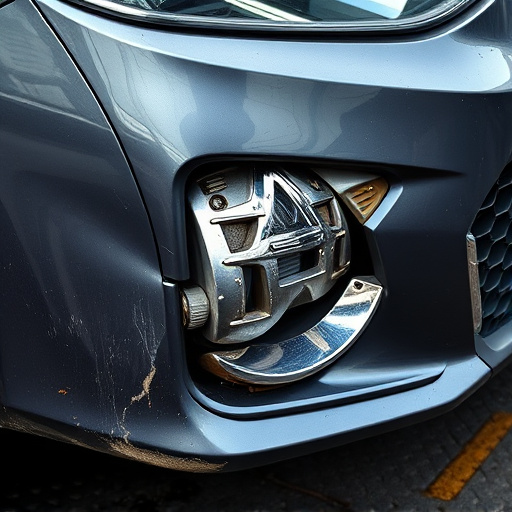
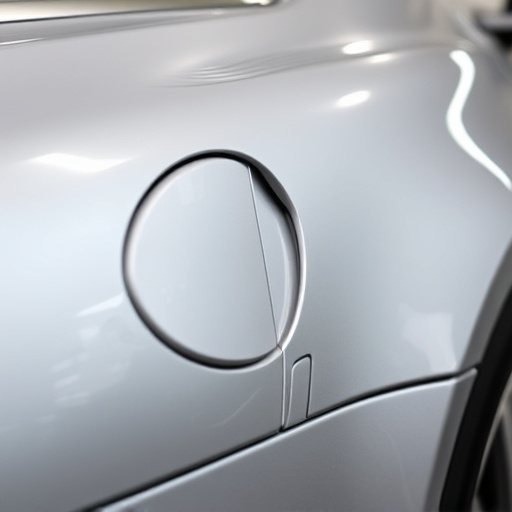
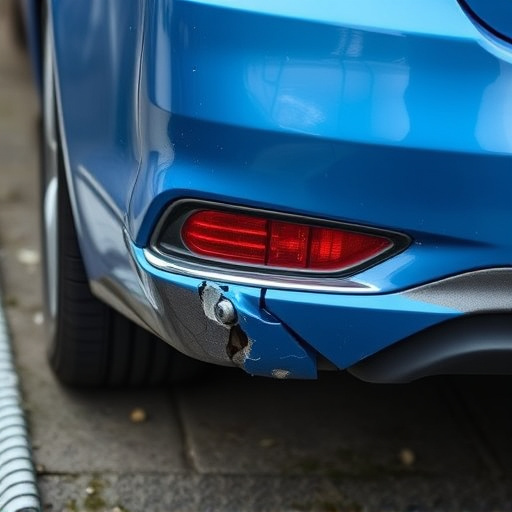
Before diving into any rear window repair, it’s crucial to assess the damage thoroughly. Start by examining the extent of the crack or break and its location on the vehicle. Check for chips, cracks, or punctures in the glass, as well as any signs of structural damage around the window frame. This step is essential as it determines the scope of your DIY project. If you’re dealing with a minor chip or crack, a simple repair might be feasible using kits available at automotive body work shops or collision centers. However, for more significant damages, professional assistance may be required.
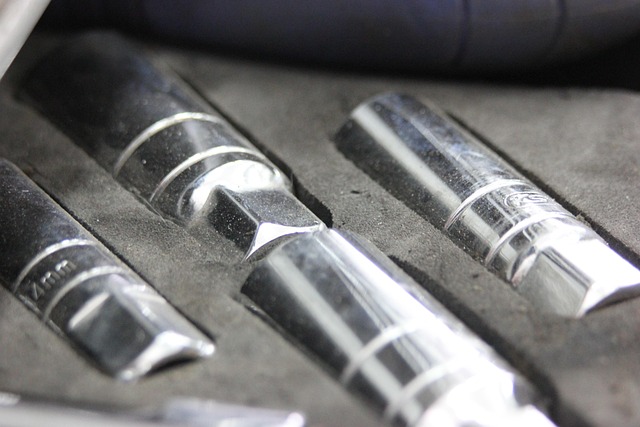
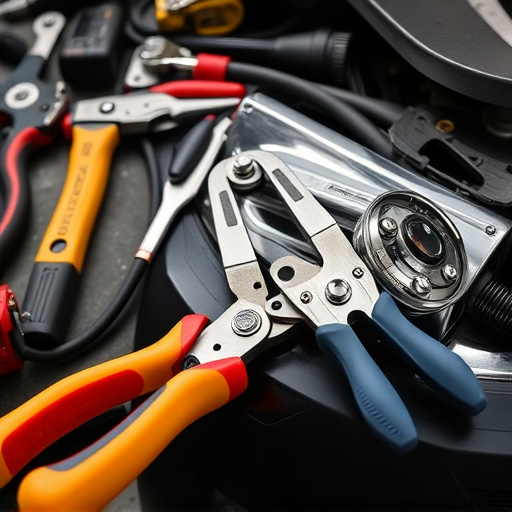
Gathering the right materials is another vital part of the process. For a DIY rear window repair, you’ll need specific tools and supplies such as replacement glass (if needed), a putty knife, automotive-grade sealant, sandpaper, cleaning solutions, and protective gear. You might also consider having a helper for better results, especially if you’re tackling vehicle dent repair aspects of the job. Ensure everything is in order before beginning to enhance your vehicle’s safety and appearance through effective rear window repair techniques.
Removing and Replacing Damaged Parts
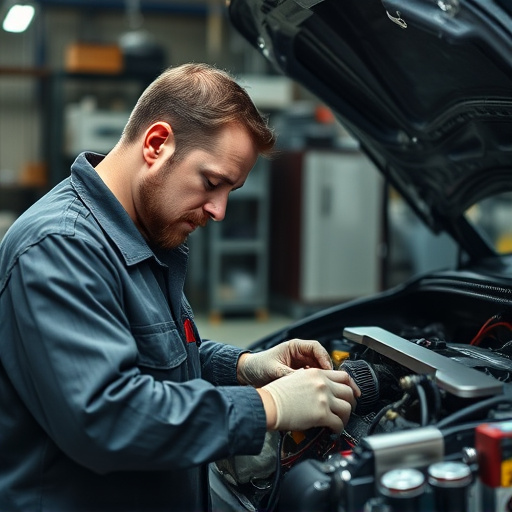
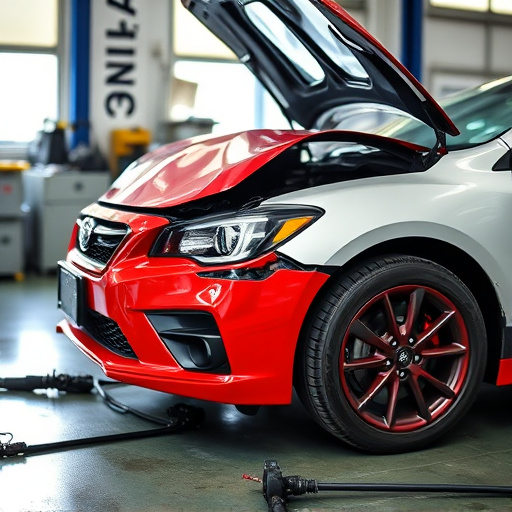
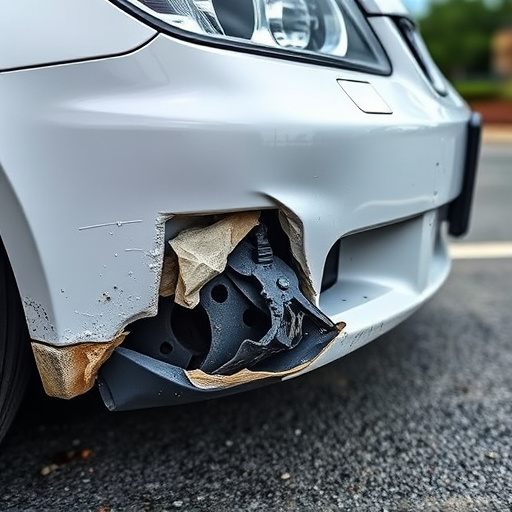
When undertaking rear window repair, removing and replacing damaged parts is a crucial step. First, carefully inspect the window for any cracks or chips. If the damage is minimal, you might be able to fix it yourself using clear coat and automotive-grade epoxy. However, if the glass is severely cracked or shattered, it’s best to replace the entire rear window assembly. This involves disconnecting the window from its hinges and carefully removing it from the vehicle body repair.
Once the old window is out, you can install a new one following the manufacturer’s guidelines. Ensure proper alignment for a seamless fit. In many cases, hail damage repair might contribute to rear window issues, so addressing these damages promptly can prevent future repairs. Keep in mind that safety is paramount, so if at any point you feel unsure about the process or the extent of the damage, don’t hesitate to consult a car body shop for professional assistance.
Sealing and Testing for Leaks
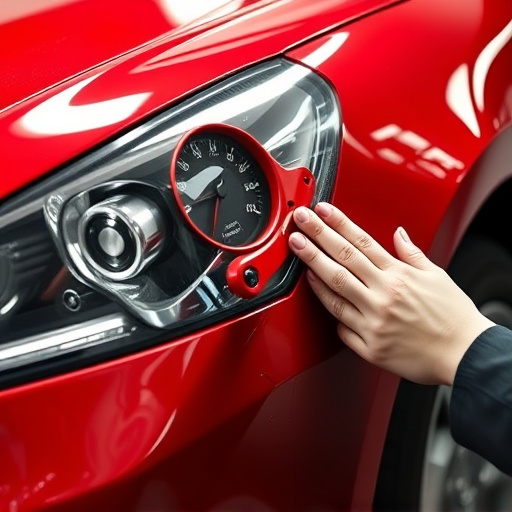
After repairing your rear window, sealing is a crucial step to ensure longevity and prevent leaks. Apply a high-quality sealant around the window frame, making sure it fills any gaps or cracks. This will create an airtight barrier, keeping moisture out and maintaining the structural integrity of your vehicle. Allow the sealant to dry completely according to the manufacturer’s instructions before moving on to the testing phase.
To ensure there are no leaks, conduct a thorough test. Roll down the rear window and check for any water accumulation or misting on the inside. You can also try blowing air around the sealed areas to detect any signs of seepage. If everything passes the test, you’re good to go! Otherwise, reevaluate your repair work and reseal as needed, ensuring a secure fit and watertight seal. Remember, proper sealing is key in maintaining a safe and dry driving environment, so don’t skip this essential step in your rear window repair process.
When it comes to DIY rear window repair, understanding the key elements covered in this article—assessing damage, gathering the right materials, removing and replacing parts, and properly sealing to prevent leaks—is essential for a successful and long-lasting fix. Armed with these simple yet effective steps, you can tackle rear window repairs head-on, saving time and money while ensuring your vehicle’s safety and comfort. Implement these DIY skills and drive with peace of mind, knowing your rear window is in top condition.