


A thorough assessment of damage is the first step in rear window repair, followed by preparation like clearing the area and securing the vehicle. Professionals use specialized tools to replace windows while maintaining functionality and aesthetic integration. This involves removing old windows, cleaning frames, sealing new ones with high-quality materials, and regular maintenance for a durable fix that enhances overall vehicle appeal.
“Ensuring your vehicle’s safety and functionality starts with a robust rear window repair. Today, advanced techniques and materials have transformed this process into a precise science. This comprehensive guide delves into the detailed steps of assessing damage, replacing glass, and completing repairs with longevity in mind. By following these meticulous procedures, you can rest assured that your vehicle’s rear window is not just fixed but fortified against future incidents. Learn how to navigate the repair process effectively.”
- Assessing Damage and Preparing for Repair
- Replacing the Rear Window Glass Step-by-Step
- Final Touches and Ensuring Longevity of Fix
Assessing Damage and Preparing for Repair
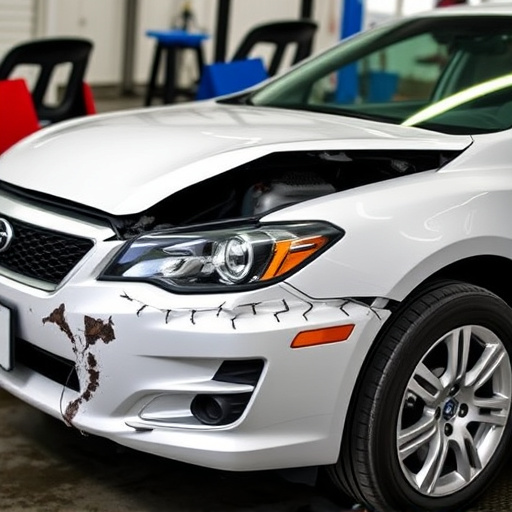
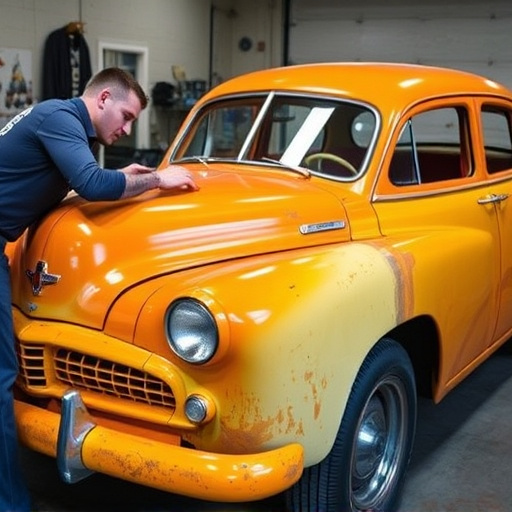
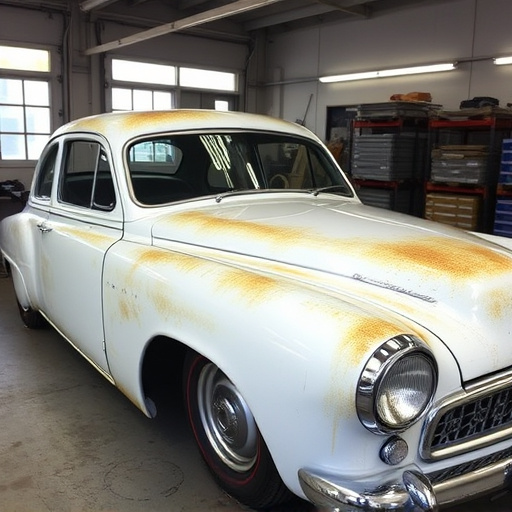
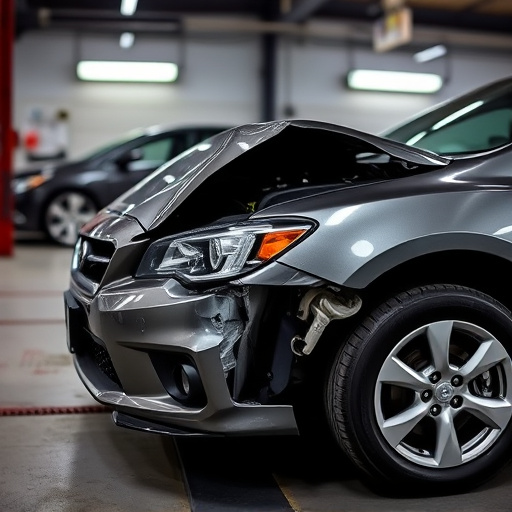
Assessing Damage is a crucial first step in any rear window repair. It’s important to note that professionals begin by meticulously examining the extent of the damage, considering cracks, chips, or complete shattering. They’ll also check for signs of previous repairs, as this can impact the new work’s longevity. In terms of preparing for repair, this involves clearing the area around the damaged window and ensuring proper ventilation. It may also include temporarily securing the vehicle to prevent further movement that could cause additional harm during the repair process, especially considering collision damage repair complexities.
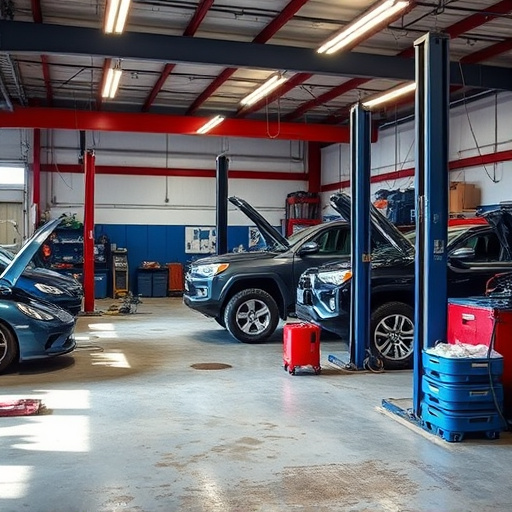
Collision repair services often utilize specialized tools and techniques tailored for car bodywork services, particularly when dealing with rear windows. These services ensure not just the functional replacement of the window but also its aesthetic integration into the vehicle’s overall design. This meticulous approach is key to maintaining the car’s original look and enhancing safety features like privacy glass or sun protection coatings, aligning perfectly with collision damage repair standards.
Replacing the Rear Window Glass Step-by-Step

Replacing a rear window involves several precise steps to ensure a secure and seamless fit. First, gather all necessary tools and materials, including a new rear window glass panel, sealant, and any specific hardware required for your vehicle model. Park your vehicle on a level surface and engage the parking brake for safety during the repair process. Next, carefully remove the old window by unfastening the retaining clips or screws along the window’s perimeter, taking note of their placement for proper reinstallation.
With the old glass panel safely removed, clean the window frame thoroughly to ensure optimal adhesion for the new sealant. Apply a bead of sealant around the inner edge of the window opening, pressing the new glass into place and removing any air bubbles. Secure the glass with clips or screws, following your vehicle’s manufacturer instructions. Once the sealant has cured according to the product guidelines, test the window’s operation, ensuring it opens and closes smoothly without gaps or misalignments. This step-by-step approach ensures a successful rear window repair, enhancing both auto maintenance and vehicle restoration efforts.
Final Touches and Ensuring Longevity of Fix
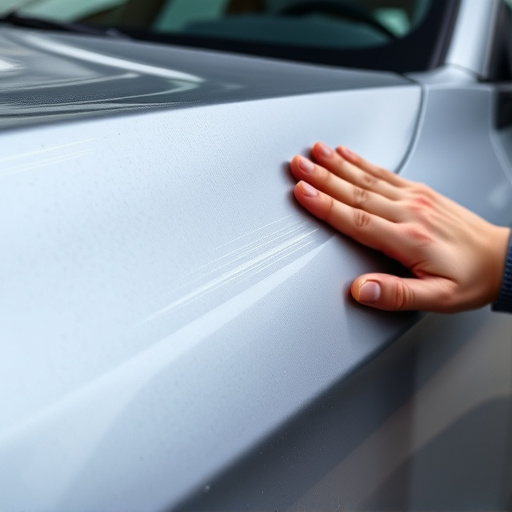
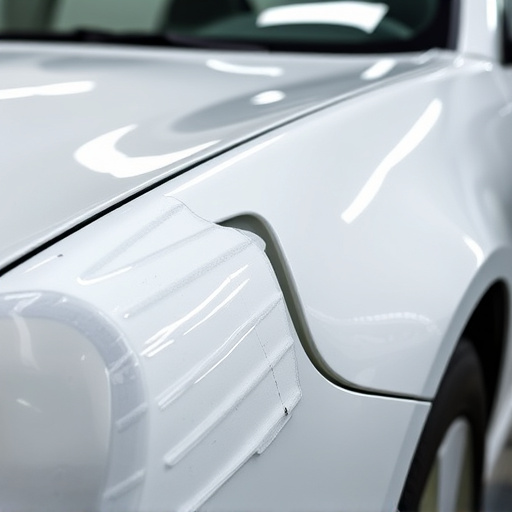
After completing the initial rear window repair, the final touches are crucial to ensure a seamless and lasting fix. This involves meticulous checks to verify that all components are securely fastened and sealed properly. Any gaps or uneven surfaces must be addressed immediately to prevent water penetration and potential future damage. The use of high-quality sealing agents and adhesives is essential here, as they contribute significantly to the longevity of the repair.
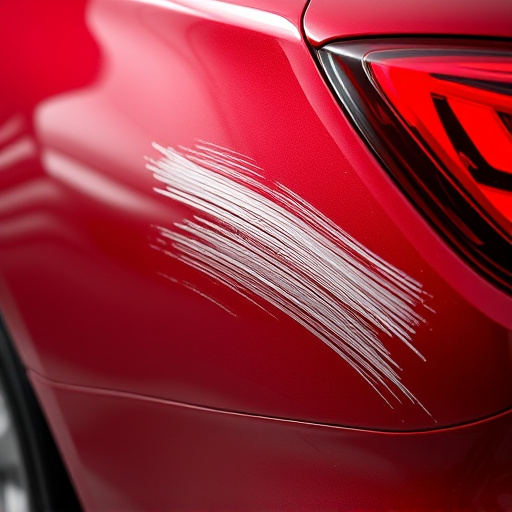
To guarantee long-term durability, it’s important not to overlook regular maintenance practices. This includes periodic inspections to check for signs of wear or damage. In the event of any issues, addressing them promptly will prevent minor problems from escalating into more serious and costly repairs. Additionally, considering complementary services like vehicle dent repair or paintless dent repair can enhance overall vehicle aesthetics and further safeguard the integrity of the rear window and surrounding areas.
Proper rear window repair is a multifaceted process that requires careful assessment, precise execution, and long-term maintenance. By following the steps outlined in this article—from assessing damage and preparing for repair to replacing glass and ensuring longevity—you can ensure your vehicle’s safety and enhance its overall aesthetics. Remember, a well-executed rear window repair not only restores functionality but also reflects your commitment to vehicle upkeep. For effective and lasting results, always trust trained professionals or follow detailed guides designed to meet modern repair standards.