


Evaluating rear window damage is crucial for safety and vehicle integrity. Minor issues may require simple repairs with clear coat, filler, or polish, while extensive cracks or deformities need professional replacement. Tools include adhesives, sealants, and compatible materials, prepared meticulously to avoid further damage. Proper inspection, cleaning, and adherence to manufacturer guidelines ensure successful rear window repair, maintaining aesthetics and safety standards.
“Enhance your vehicle’s safety and aesthetics with our advanced tips on rear window repair. This comprehensive guide delves into evaluating damage, selecting the right tools and materials, and provides a step-by-step process for effective repairs. Learn to identify key signs requiring repair, navigate the best products, and master techniques that transform your broken rear window into a clear, secure vista. Optimise your DIY or professional repair experience with these expert insights tailored for rear window repair.”
- Evaluating Damage: Key Signs for Repair
- Choosing the Right Tools and Materials
- Step-by-Step Guide: Effective Repair Process
Evaluating Damage: Key Signs for Repair

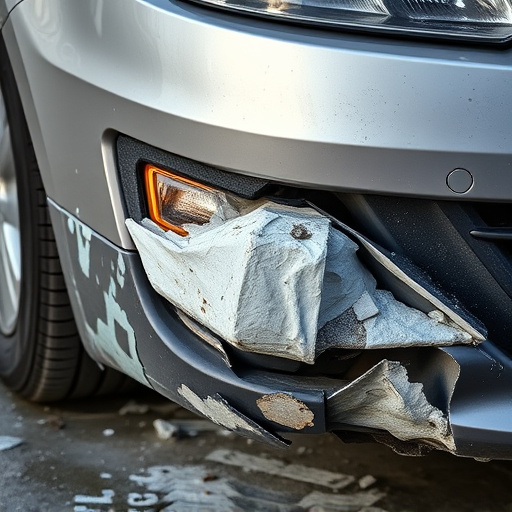
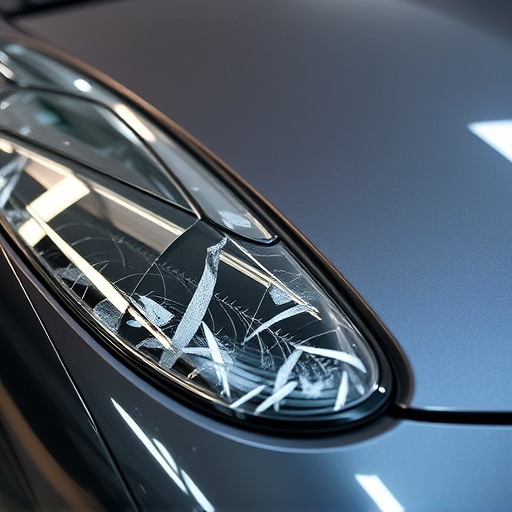
When considering rear window repair, evaluating damage is a crucial first step. Key signs that indicate the need for professional intervention include cracks, chips, or any visible deformities in the glass. Even small nicks or scratches can compromise the structural integrity of your vehicle’s rear window and affect its ability to provide adequate protection during driving. Additionally, if you’ve been involved in a car collision, it’s essential to have a thorough inspection conducted by a reliable collision repair shop to ensure the safety and functionality of all components, including the rear window.
Beyond cosmetic issues, pay attention to any unusual noises or changes in the operation of your vehicle’s windows. If the rear window is difficult to lower or raise, or if it sticks or vibrates unexpectedly, these could be indicators of underlying problems that require professional attention. Regularly checking for these signs not only aids in maintaining optimal vehicle performance but also plays a vital role in ensuring driver and passenger safety during every journey.
Choosing the Right Tools and Materials

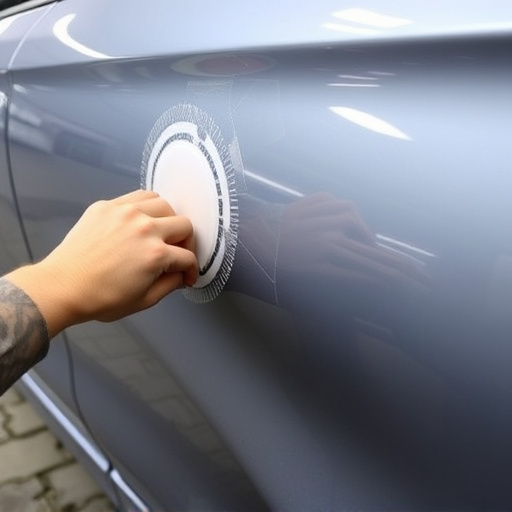
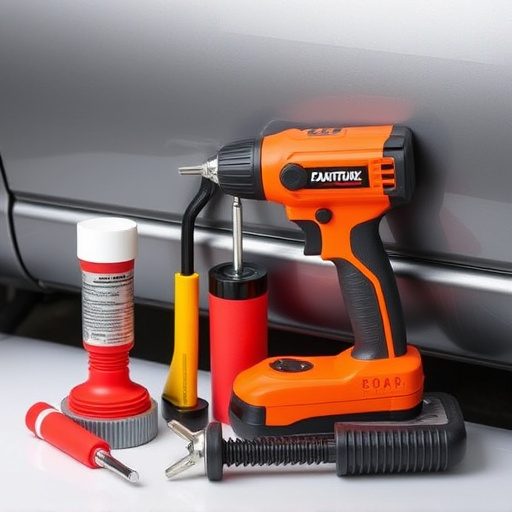
When embarking on a rear window repair project, selecting the appropriate tools and materials is paramount to achieving a professional and lasting fix. The first step involves assessing the extent of the damage. Cracks or chips may require different approaches compared to complete replacements. For minor repairs, you might need a clear coat, filler, and polish, while more significant damage could demand specialized glass repair kits or even a custom-cut replacement window from an auto body shop.
Invest in high-quality materials to ensure the longevity of your repair. This includes choosing the right adhesives, which must be compatible with car body restoration work. Consider the environmental impact and opt for eco-friendly options where possible. Remember, proper preparation is key; using the wrong tools or materials can lead to an ineffective fix or worse, further damage to your vehicle’s fender or surrounding areas during the repair process.
Step-by-Step Guide: Effective Repair Process

Rear window repair is a specialized process that requires precision and the right tools. Here’s a step-by-step guide to ensure an effective repair job, maintaining your car’s aesthetics and safety standards. Begin by preparing the necessary materials: clear silicone sealant, a compatible adhesive, and high-quality replacement glass if needed. Next, inspect the damage—cracks or chips on the rear window—and clean the affected area thoroughly to eliminate any debris or contaminants that could hinder adhesion.
For minor cracks, apply the adhesive along the crack’s edge, ensuring it completely covers the damaged area. Allow it to set for the recommended time by the manufacturer. After the adhesive has cured, carefully inject the sealant into the gap created by the crack using a syringe or specialized tool. Smooth out any excess sealant with a clean rag or spatula. For more extensive damage, replace the entire rear window, following the manufacturer’s instructions for proper installation and alignment, including adjustments to the car’s bodywork if necessary.
Rear window repair is a skill that can save you time and money, ensuring your vehicle’s safety and aesthetics. By understanding the damage, selecting the right tools, and following a structured guide, you can effectively fix cracks or chips in your rear glass. Remember, prompt action on minor issues prevents them from becoming costly major repairs. With these advanced tips, you’re now equipped to navigate the process with confidence, keeping your vehicle’s rear window in top condition.