


Before repairing a rear window, assess damage (cracks, chips) for severity affecting visibility and safety. Choose a kit specific to your car model and year from reputable stores, considering glass type and dimensions. Follow meticulous preparation and application steps for effective repair, including cleaning, mixing, setting, sanding, and coating.
Discover how to restore your vehicle’s clear visibility with advanced tips on rear window repair kits. Learn to assess damage, from spotting cracks and chips to choosing the perfect kit for your vehicle make and model. Then, follow our comprehensive step-by-step guide to ensure effective application, leaving your rear window as good as new. Master these techniques and save money by repairing rather than replacing your rear window.
- Assessing Damage: Spotting Cracks and Chips
- Choosing the Right Repair Kit for Your Vehicle
- Step-by-Step Guide: Applying the Repair Kit Effectively
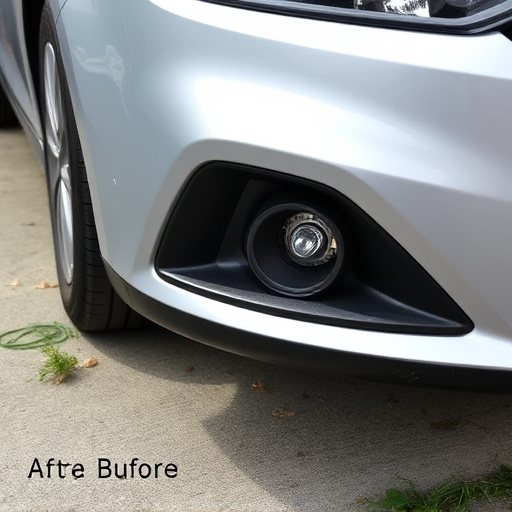
Assessing Damage: Spotting Cracks and Chips

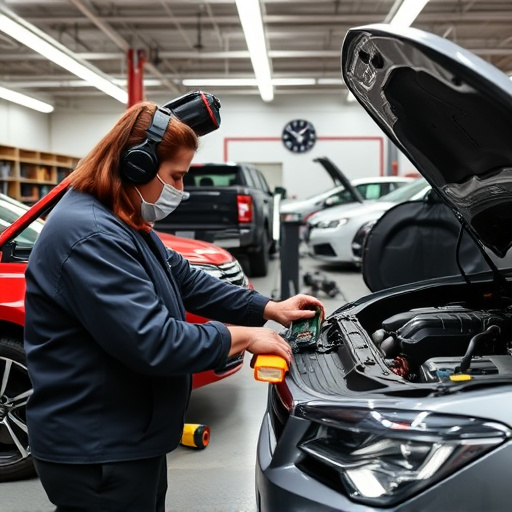
Assessing damage to your rear window is the first step in determining whether a repair kit is the right solution for you. Cracks and chips can range from small, superficial imperfections to larger, more significant issues that affect visibility and safety.
When inspecting your rear window, look for any visible cracks, whether they are straight lines, star-shaped, or have a jagged appearance. Even tiny cracks can weaken the glass and should be addressed promptly. Chips in the glass, often caused by debris or road hazards, can also impact the structural integrity of the window. A professional car body shop or collision repair service like Mercedes Benz Collision Repair can provide expert advice and guidance on assessing damage, ensuring you make an informed decision regarding rear window repair.
Choosing the Right Repair Kit for Your Vehicle
When selecting a rear window repair kit, it’s crucial to match the kit with your specific vehicle model and year. Not all kits are universal; some are designed for particular makes and models, ensuring a precise fit. This is important as using the wrong kit can lead to suboptimal results or even void warranties on your car’s original parts.
Consider factors like the type of glass (tempered or laminated), the size and shape of your rear window, and any unique features of your vehicle. Reputable automotive stores offer a range of kits catering to various needs, from simple chip repairs to more complex cracks. Additionally, checking customer reviews for specific brands and models can provide valuable insights into their effectiveness and ease of use. Choosing the right kit, whether for a minor chip repair or a more significant rear window issue, will ensure a professional and durable fix, enhancing your car’s safety and aesthetics without needing extensive body shop services.
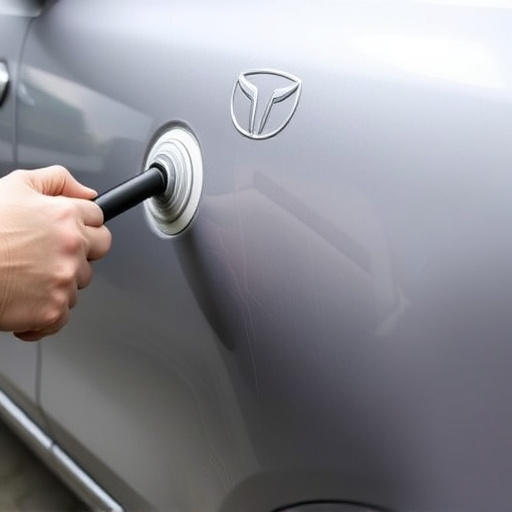
Step-by-Step Guide: Applying the Repair Kit Effectively

Applying a rear window repair kit effectively requires careful steps to ensure a seamless fix. Begin by thoroughly cleaning and preparing the damaged area around the crack or chip. Remove any debris, dust, or residue using a dedicated cleaner or soap and water. Dry the surface completely to prevent bubbles from forming under the sealant. Once ready, apply the repair compound following the kit’s instructions. This usually involves mixing the components and spreading it over the damaged region with a spatula or scraper. Allow the compound to set for a specified time, often indicated by the manufacturer.
After the initial setting, gently sand the surface to create a smooth finish, ensuring no rough edges remain. Again, clean the area and inspect for any remaining debris. Finally, apply the clear coat or sealant as directed, smoothing it out evenly. This protective layer will seal the repair, providing long-lasting protection against further damage. Remember, these steps are crucial when using a rear window repair kit, ensuring a professional-looking fix that complements your car’s bodywork services and overall aesthetic.
Repairing your vehicle’s rear window with a DIY kit is a cost-effective and efficient solution. By following these advanced tips, you can successfully assess damage, choose the right repair kit, and apply it effectively. Don’t let cracks or chips compromise your safety and style; take control of your vehicle’s upkeep with a rear window repair kit today.