


Rear window repair is a cost-effective and eco-friendly alternative to replacement, extending your vehicle's lifespan while promoting sustainable auto maintenance. Skilled technicians can restore damaged windows, preventing crack spread and maintaining original integrity. Assess damage for small chips or cracks suitable for DIY repair using a kit, or consult professionals for extensive cases.
In many cases, fixing your car’s rear window is a cost-effective and environmentally friendly option compared to replacement. This article explores the benefits of rear window repair, guiding you through scenarios where it excels over replacement. We’ll delve into the necessary steps for successful repair, ensuring you make an informed decision. Understanding when to opt for repair versus replacement is key to saving money and preserving your vehicle’s integrity.
- Understanding the Benefits of Rear Window Repair
- When is Replacement Truly Necessary?
- A Step-by-Step Guide to Effective Rear Window Repair
Understanding the Benefits of Rear Window Repair

Rear window repair offers a multitude of benefits that often go overlooked. Not only is it an environmentally friendly option, as it reduces waste from manufacturing and production of new glass, but it’s also significantly more cost-effective. Repairing the rear window can save you hundreds of dollars compared to replacement, making it a smart choice for both your wallet and the planet.
Choosing rear window repair over replacement also extends the lifespan of your vehicle. Auto body work specialists are able to restore the original integrity and functionality of your car’s window, ensuring clear visibility and safety on the road. Moreover, skilled technicians can often patch small cracks or chips, preventing them from spreading and requiring a complete replacement down the line. Thus, opting for rear window repair is not only an economical decision but also a proactive one that contributes to sustainable vehicle maintenance practices.
When is Replacement Truly Necessary?

While it might seem like a no-brainer to replace a damaged rear window, there are instances where a more cost-effective and environmentally friendly option is available—rear window repair. Replacement isn’t always the best course of action, especially when considering the environmental impact of producing new glass and disposing of the old. A rear window repair service can extend the life of your current window, saving you money and reducing waste.
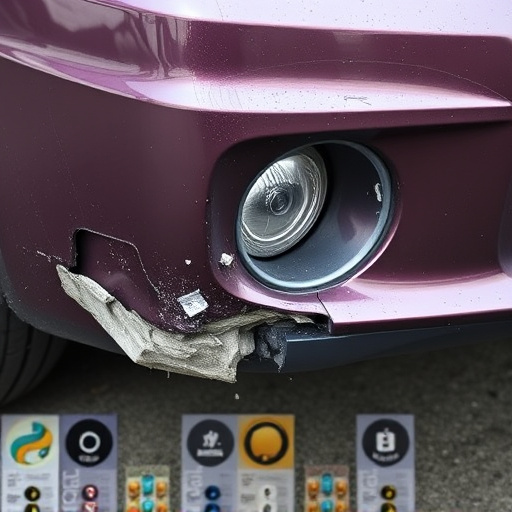
Several factors contribute to determining when replacement becomes necessary. Severe damage that compromises structural integrity, such as deep cracks or holes, might require a full replacement. Additionally, if the cost of repairs exceeds the value of your vehicle, it could be more economical to opt for a new window. However, for smaller chips, cracks, or scratches, auto collision repair experts can expertly restore the rear window to its former condition, ensuring safety and reducing the need for unnecessary vehicle body repair.
A Step-by-Step Guide to Effective Rear Window Repair

Rear window repair can be a cost-effective solution when your car’s rear glass is damaged but still structurally sound. Here’s a step-by-step guide to help you decide if repair is the right choice for you:
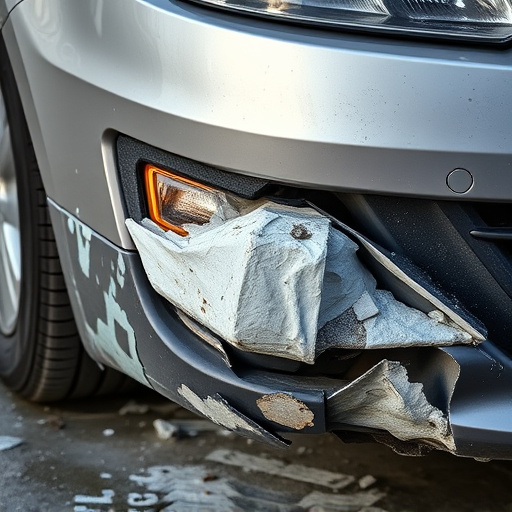
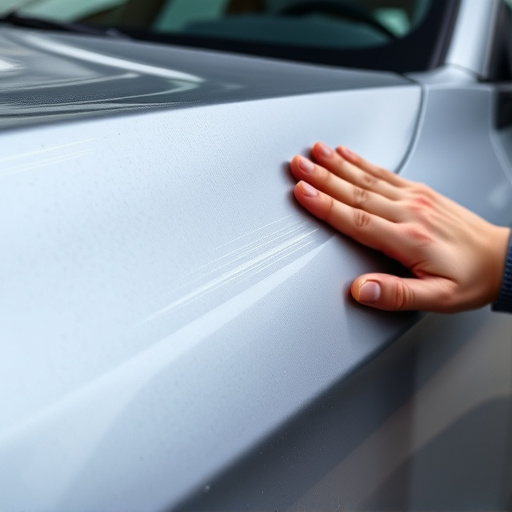
1. Assess the Damage: Carefully inspect the rear window for cracks, chips, or punctures. If the damage is limited to a small chip or crack and doesn’t compromise the integrity of the glass, repair might be your best option.
2. Clean the Area: Ensure the damaged area is thoroughly cleaned to remove any debris or contaminants that could interfere with the repair process. A clean surface guarantees better adhesion for the repair material.
3. Select the Right Repair Kit: Depending on the size and type of damage, choose a repair kit that includes an appropriate amount of resin or glass repair compound, along with applicators and a curing agent. Look for kits designed specifically for automotive rear window repair to ensure quality and compatibility.
4. Prepare the Surface: Lightly sand the damaged area to create a rough texture, allowing better adhesion for the repair material. Remove any dust or debris after sanding for a clean surface.
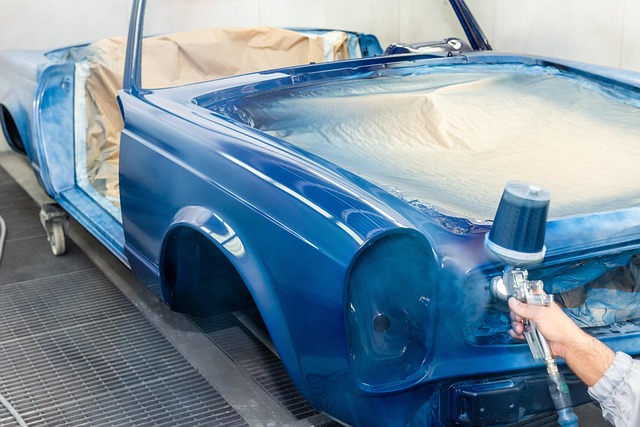
5. Apply the Repair Compound: Follow the kit’s instructions to precisely apply the resin or glass repair compound over the damaged area. Fill in cracks and chips thoroughly.
6. Cure and Polish: Allow the repair compound to cure according to the manufacturer’s guidelines. Once cured, gently polish the repaired area with a microfiber cloth to achieve a smooth finish that matches the original window’s appearance.
For more extensive damage or if you lack confidence in your repair skills, it’s always best to consult a professional at an auto body shop or collision center for expert rear window repair services.
In many cases, opting for rear window repair instead of replacement can be a practical and cost-effective decision. By understanding the benefits and knowing when it’s not necessary, you can extend the life of your vehicle’s rear window. The process, as outlined in this guide, is straightforward and efficient, allowing you to save time and money while ensuring your vehicle remains safe and secure on the road. So, before considering a replacement, take a moment to assess if repair is the better option for your specific situation.